Hey Sumos! Of all the feature requests we receive each month, there’s one that kept coming up. All. The. Time.
Well, IT’S FINALLY HERE!
You can now generate your own discount codes in Sumo.
This is a HUGE new feature and one that all of the top websites are using. And now, it’s available to anyone that uses Sumo.
With discount codes, you’ll be able to:
- Capture customers who are on the fence about buying
- Create urgency so your website visitors take action
- Drive more sales and make more $$$
You can tack on a discount code to any forms in List Builder and you can create as many as you’d like.
Here’s how to get started:
First, make your way to List Builder.
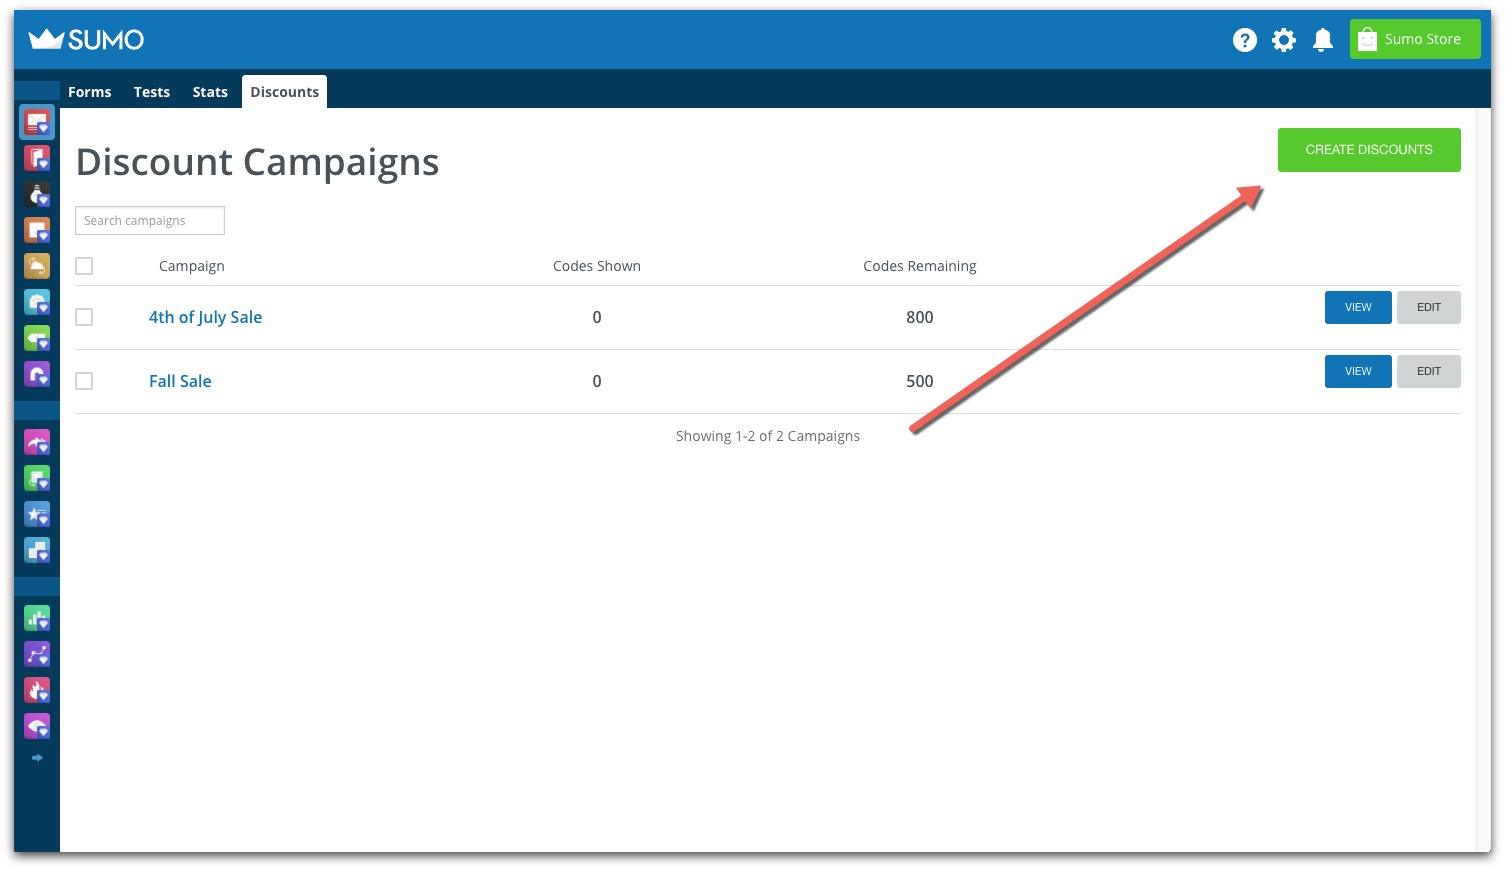
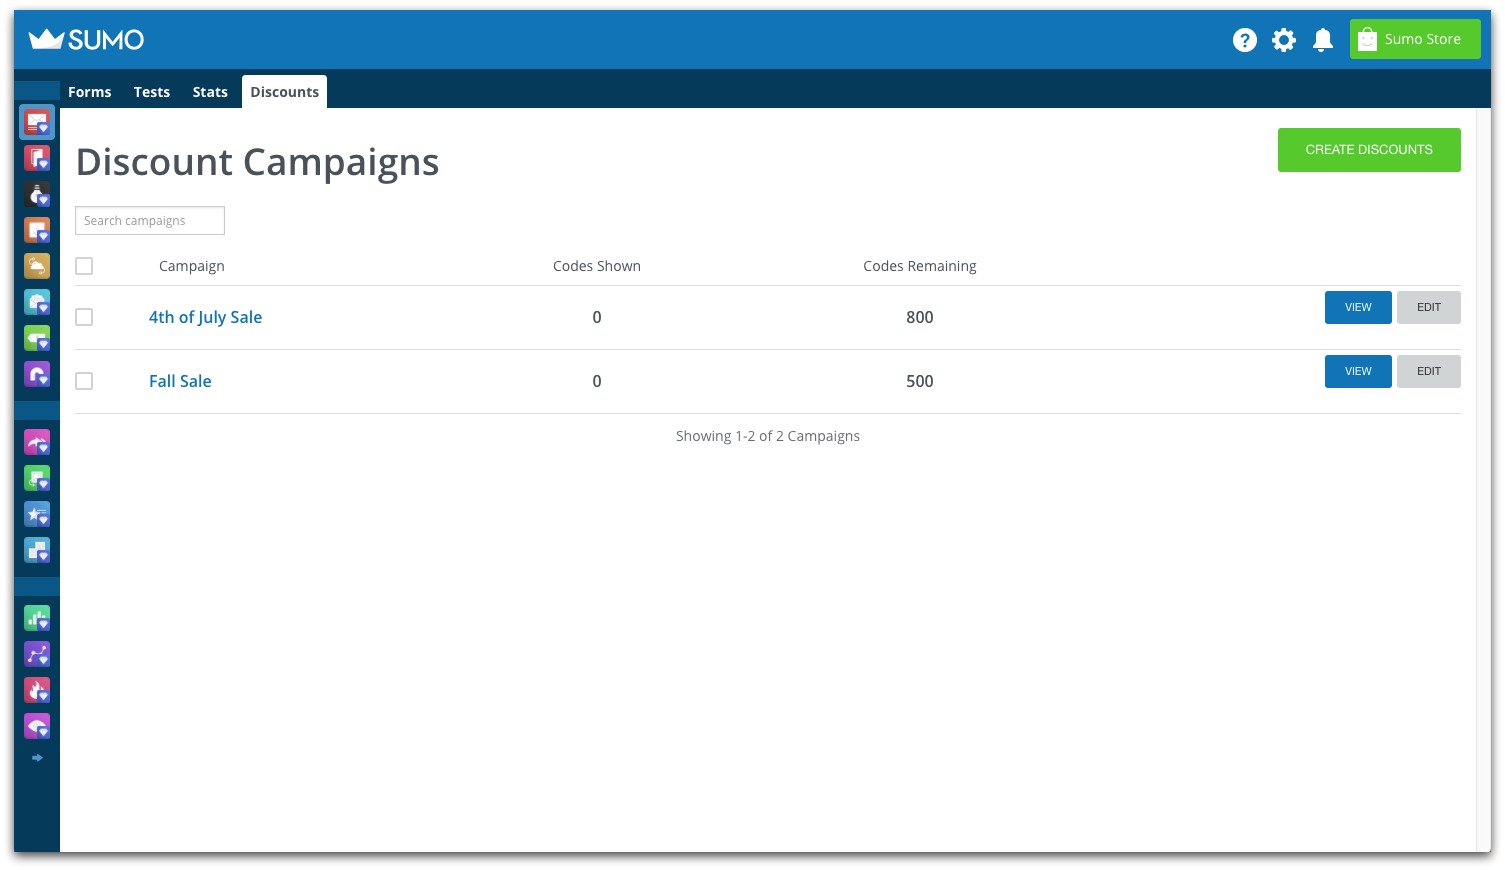
Once there, navigate to the Discounts tab and hit the Create Discounts CTA button.
Next, choose a name for your campaign (e.g. SPRINGSALE2017) and decide on how many coupon codes you’ll create for this campaign (Ex. 100,000 coupon cap).
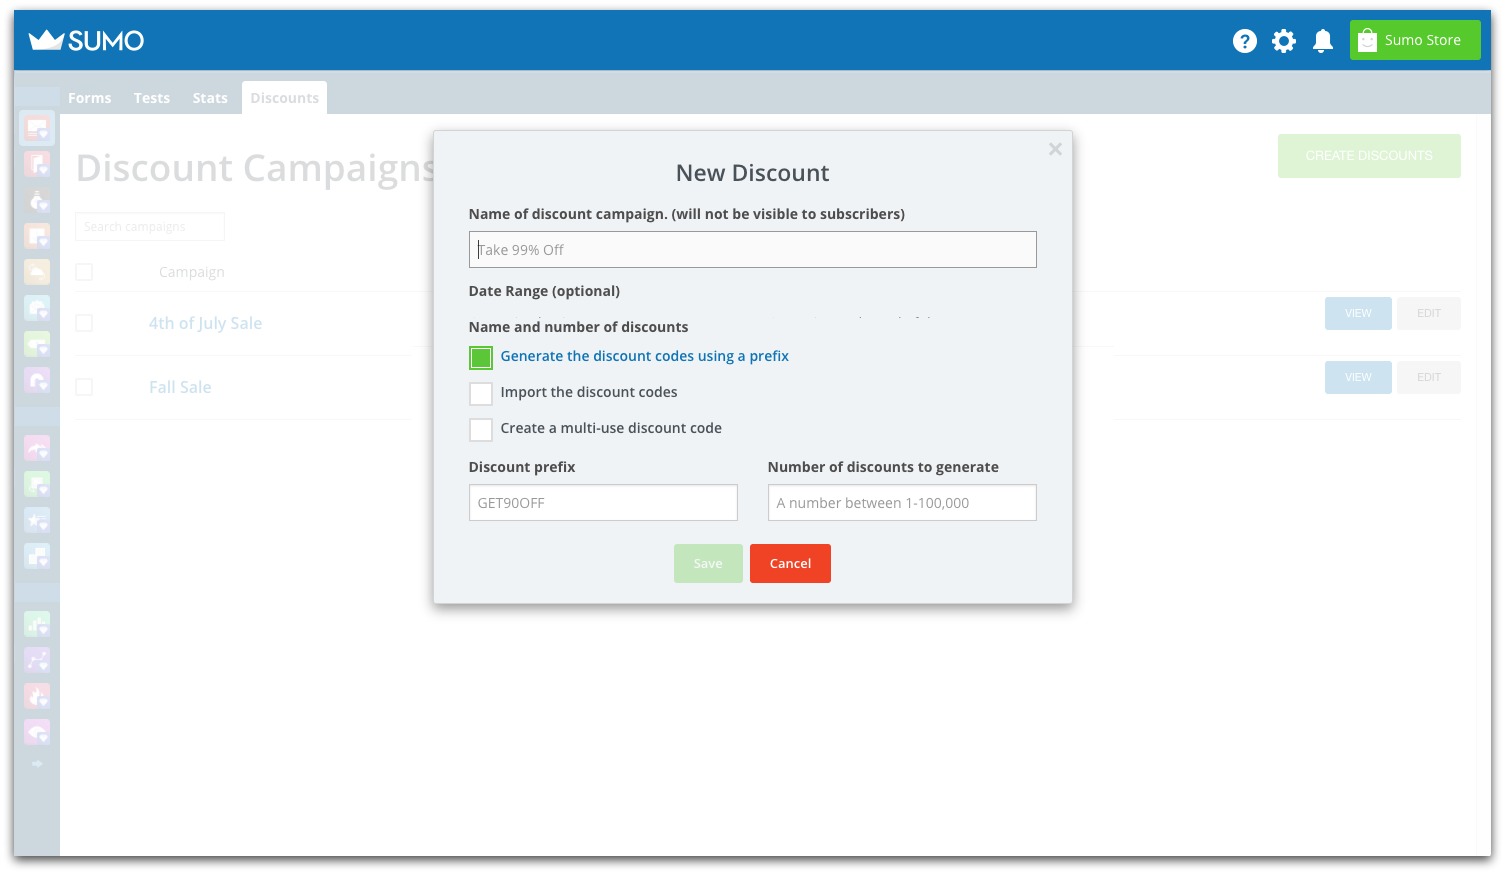
Click the save button and then head back over to the main Forms tab of List Builder to choose which ones will feature your new discount code.
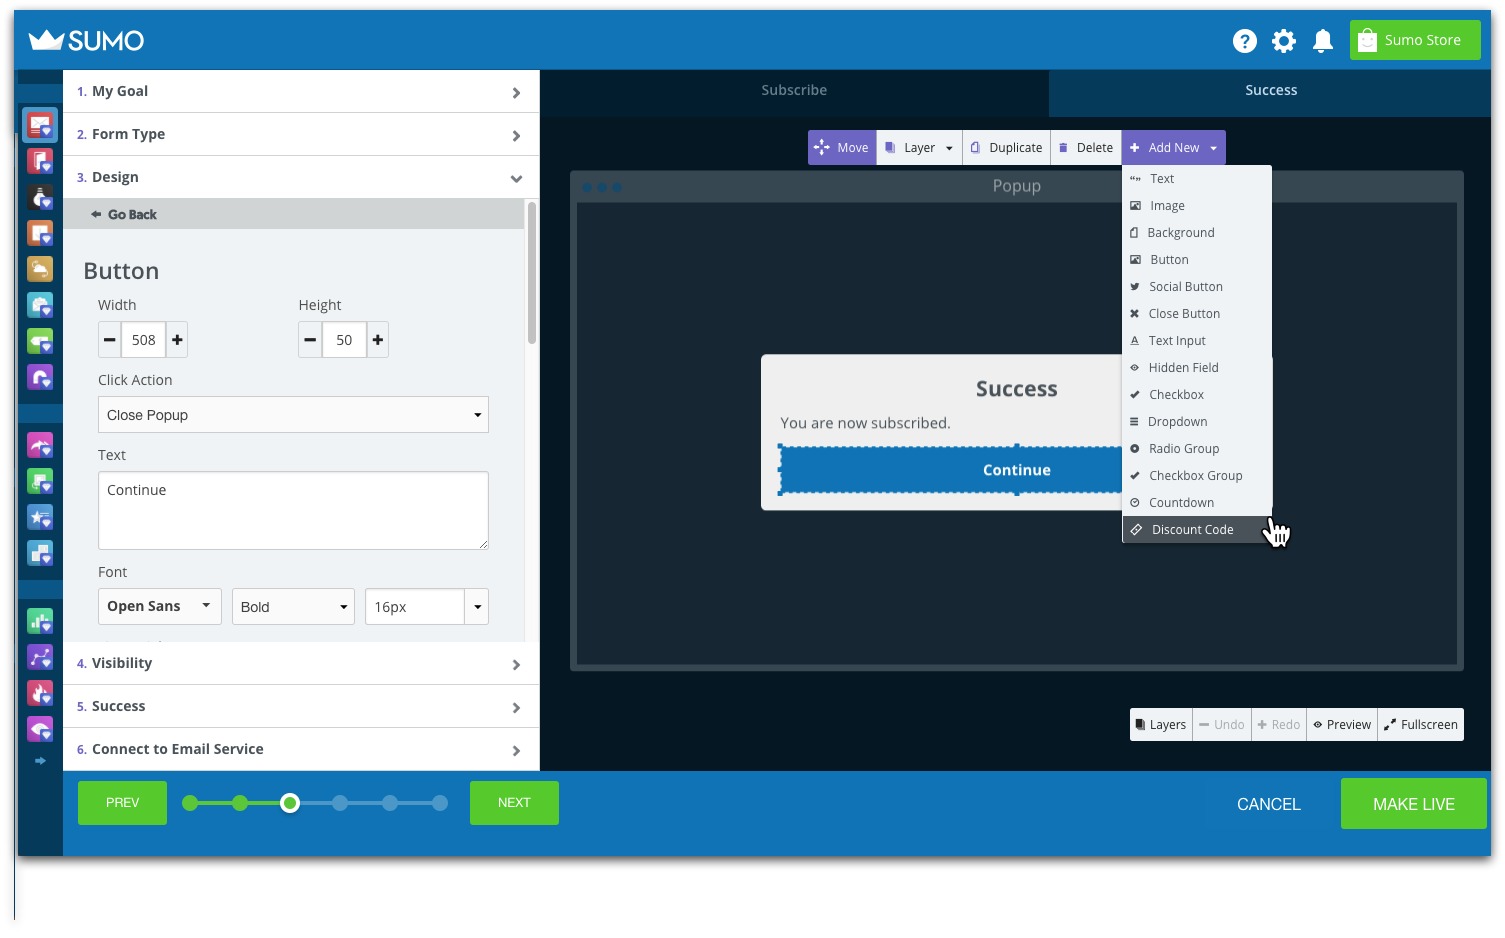
From the Add New dropdown menu, click on Discount Codes. This will show where the code will be included on your form. You can play around with the formatting to make sure your discount is prominently displayed.
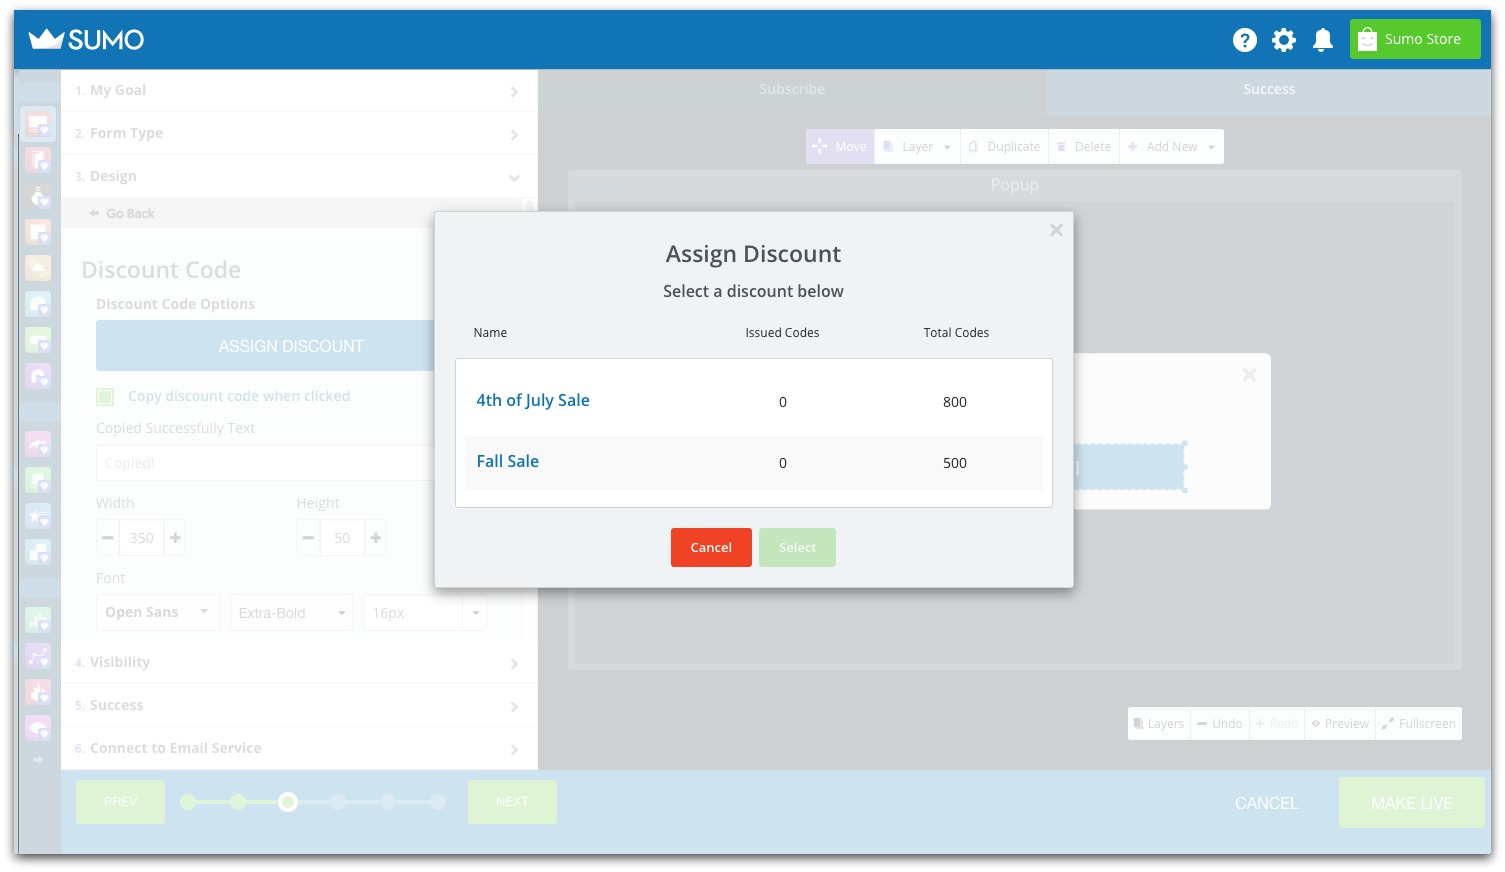
After your design is set, click the Assign Discount blue button. By clicking this, you can then choose the right code from your list of campaigns.
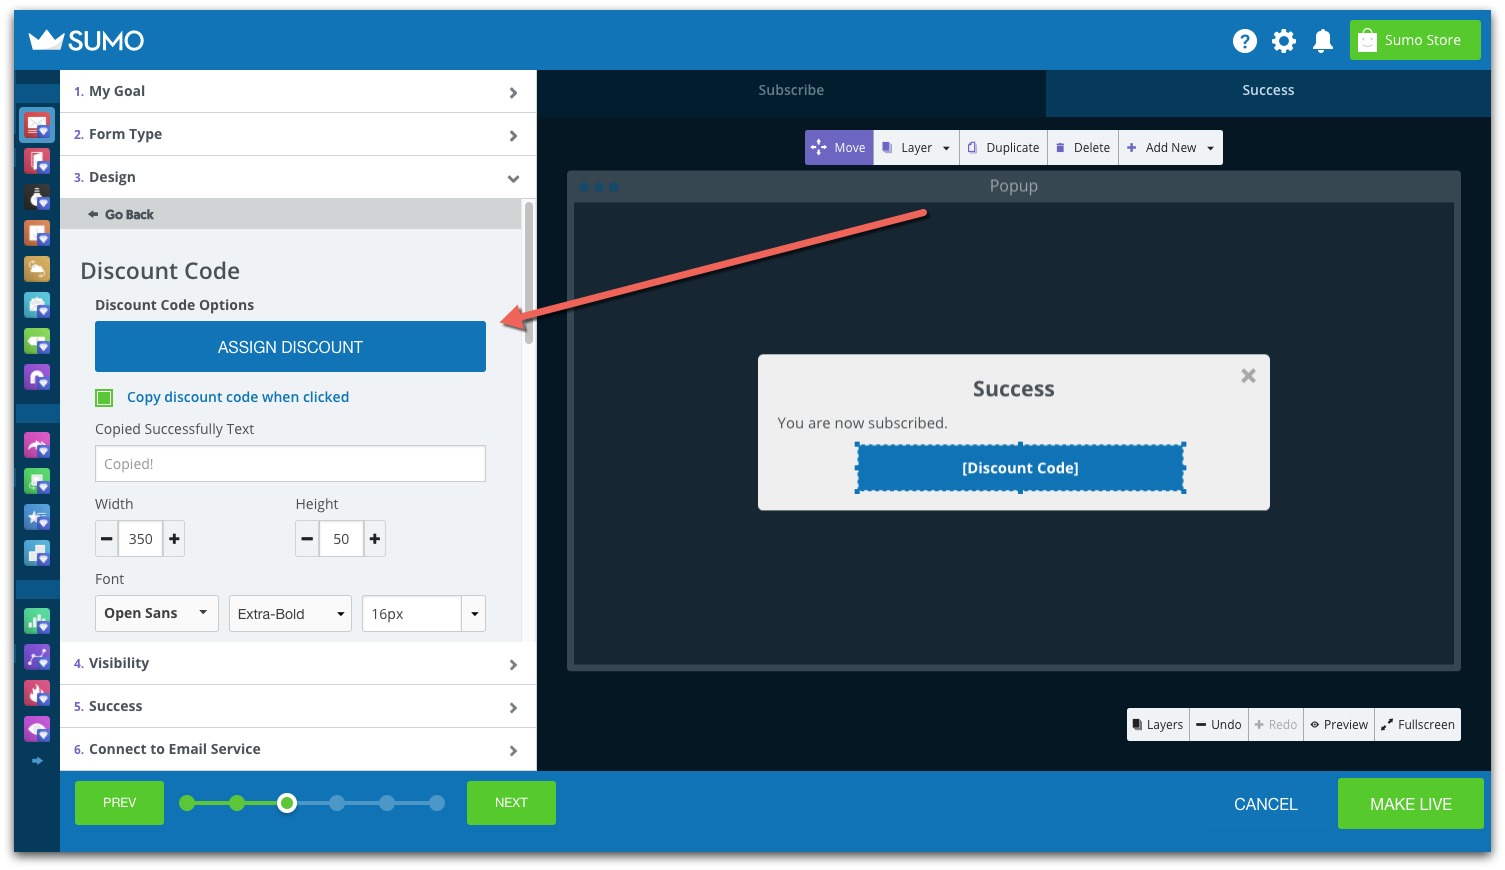
You can also add these discount codes to any of your Auto Responder emails. Either way, keep in mind that only one campaign can be chosen per form.
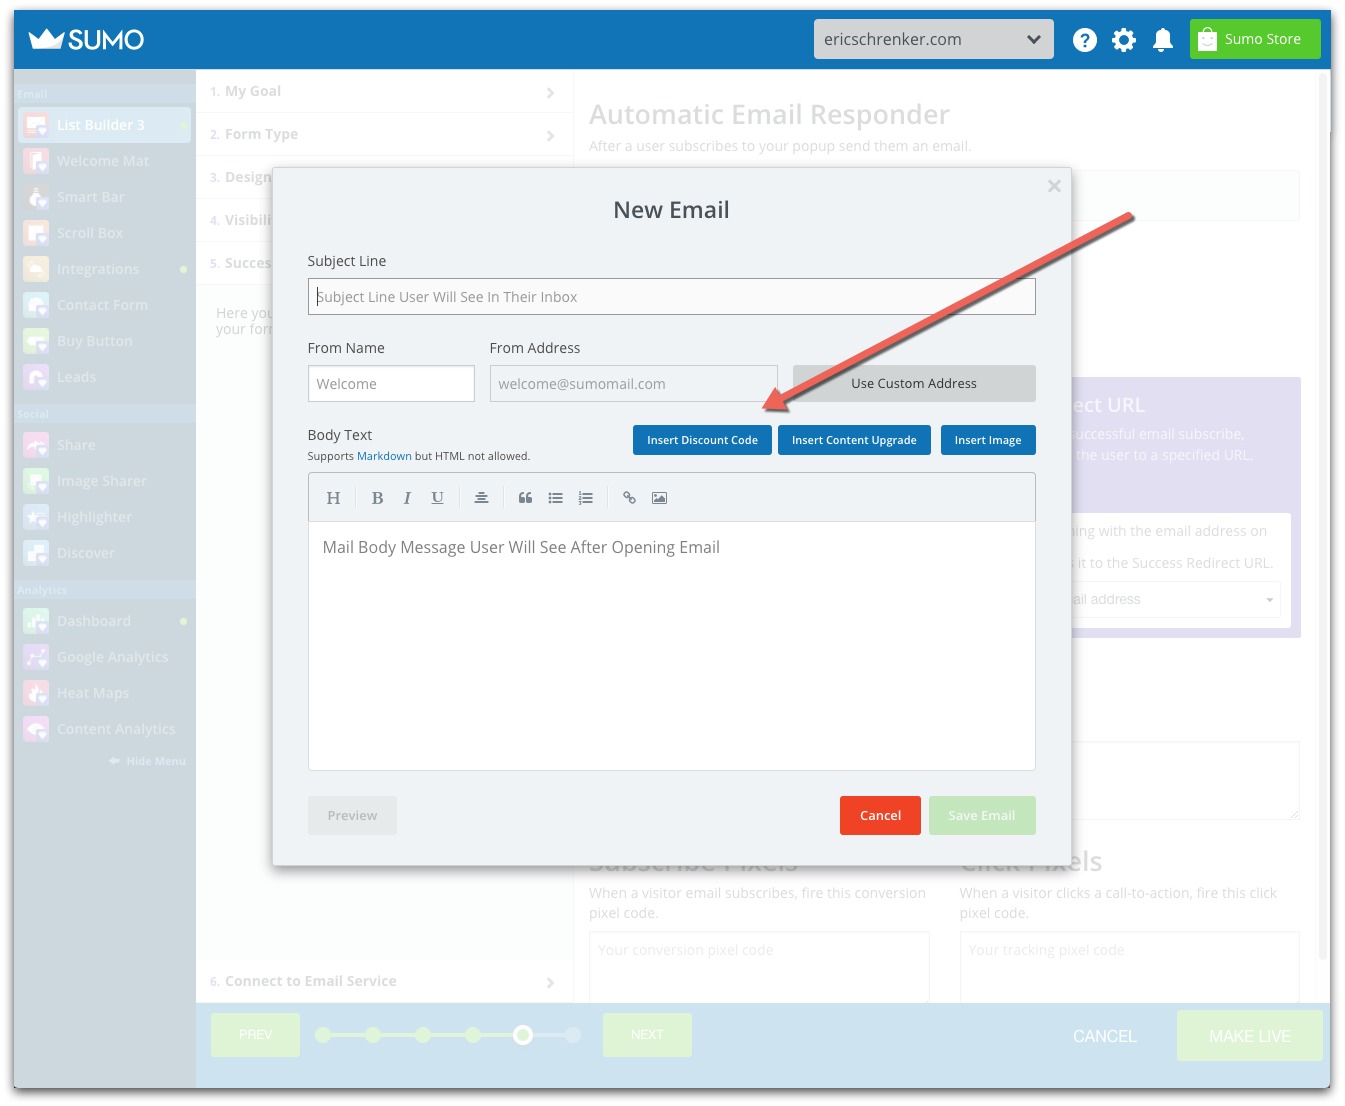
Select the campaign and hit save and your new discount code will be activated.
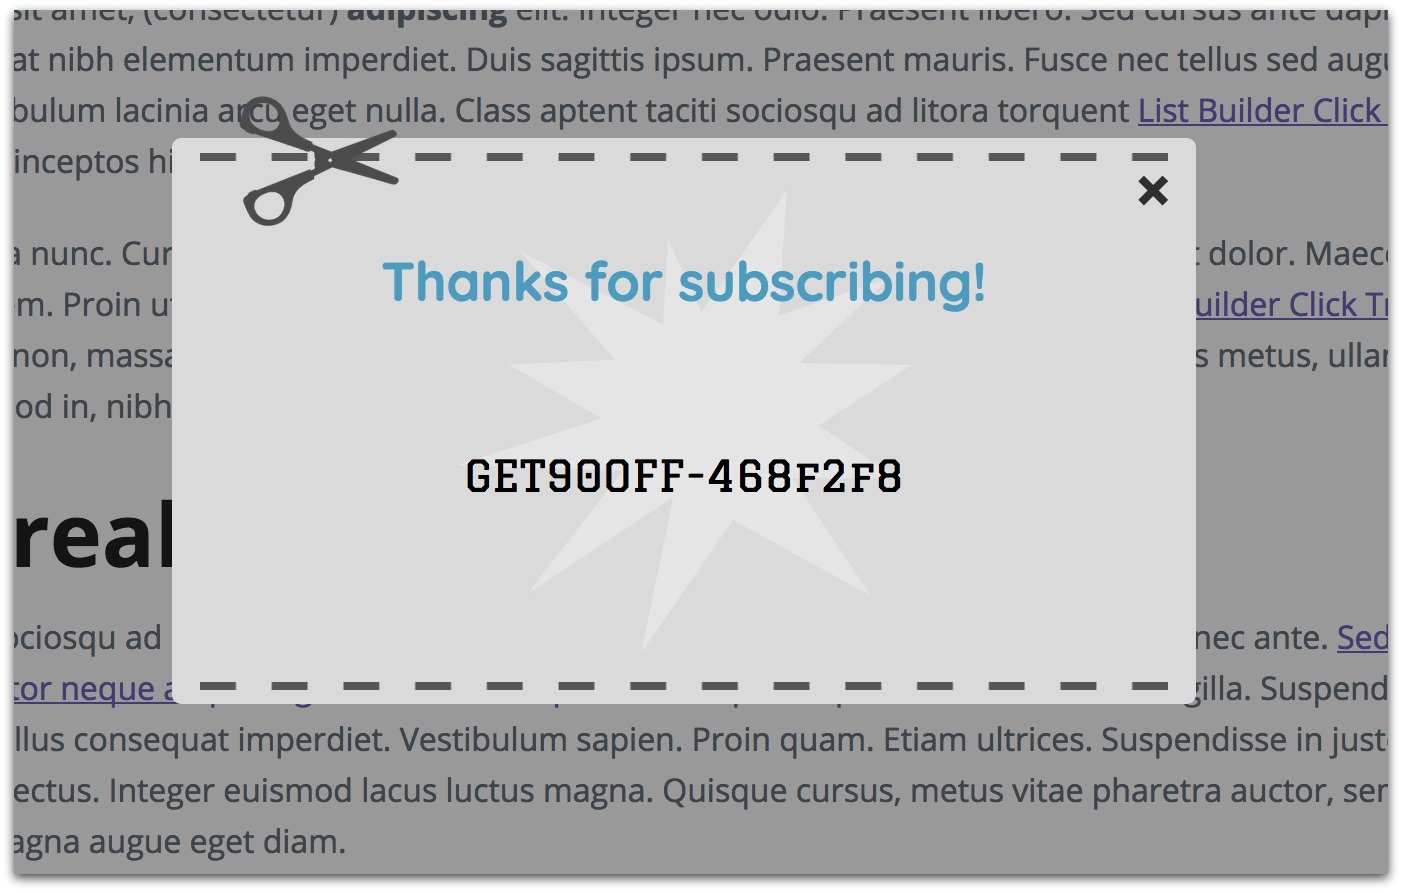
Here’s a live Discount Code in action:
Once your discount codes are live, you can then see stats from your campaigns. You’ll find these back in the Discounts section and by clicking on a specific campaign.
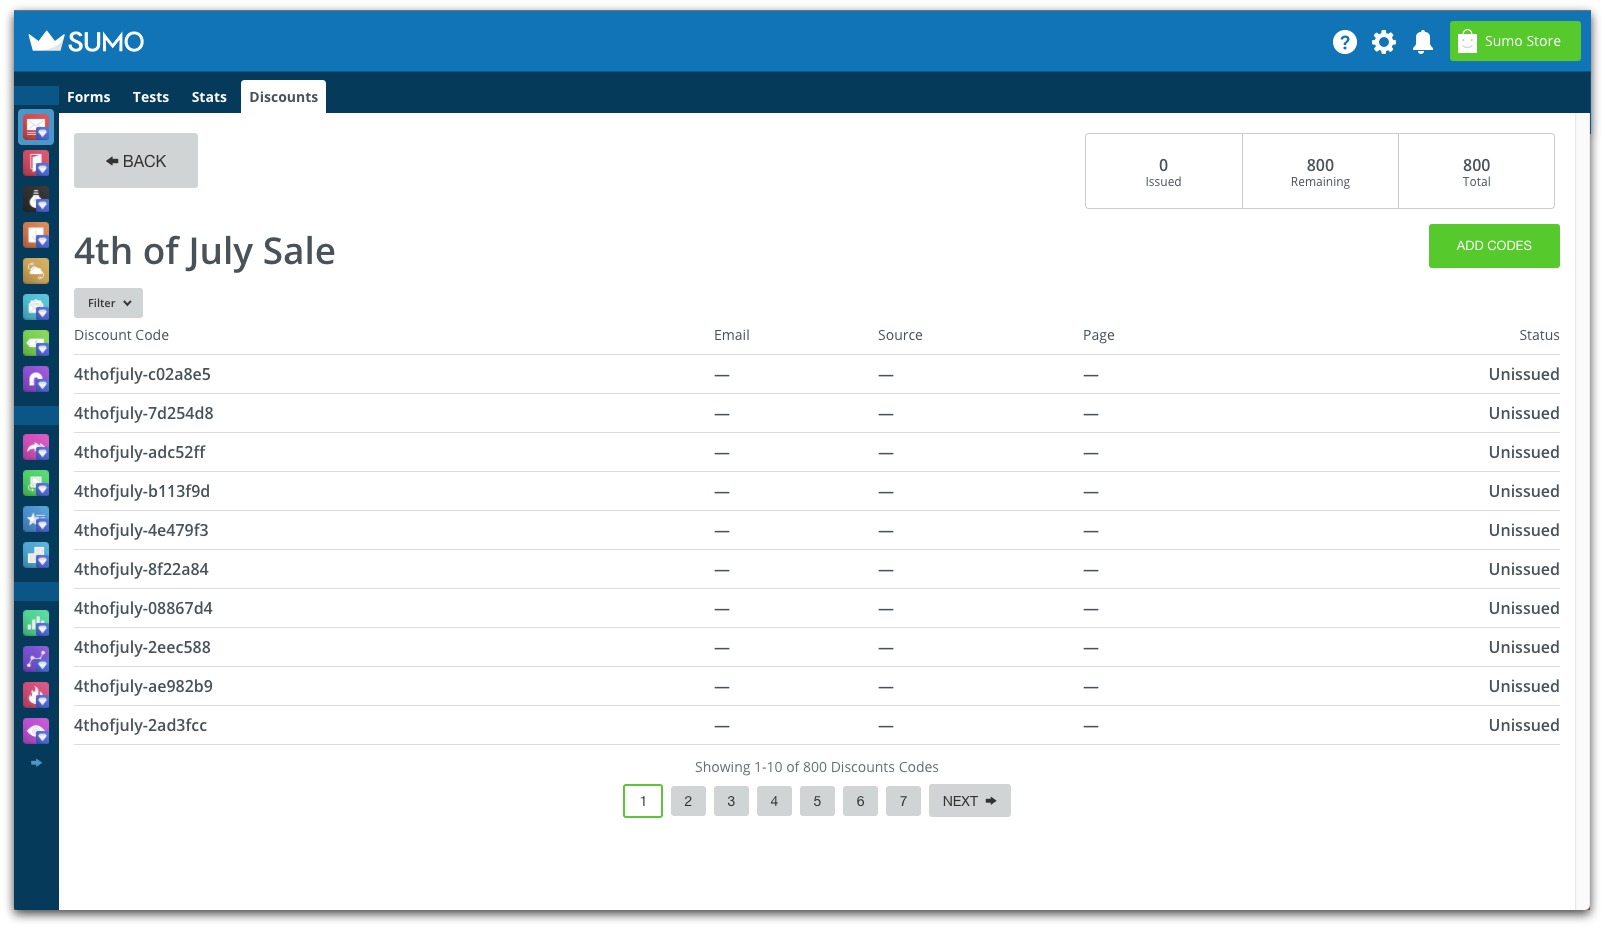
As a heads up, discounts are primarily managed at the campaign level and not the individual code level. So anytime you need to make a change to your codes, head over to the Discount Campaigns page.
To creating your first coupon code,
Devan Ciccarelli
Add A Comment
VIEW THE COMMENTS